
Summary
We understand that presenting a property beautifully is crucial for attracting buyers. Our comprehensive guide covers everything from essential equipment like wide-angle lenses and tripods to crucial on-site preparation, emphasising that homeowners are responsible for decluttering and styling, with our role as photographers being to advise and capture the best possible images. We detail how to achieve optimal lighting and composition, including opening all doors and turning on lights, and why it's vital to remove foreign objects and shut toilet lids. Finally, we outline the post-production process, from exposure correction and white balance to minor retouching, ensuring we deliver professional, high-quality images to help sell the property effectively.
Property photography is a specialist field that requires an eye for detail, technical skill, and an understanding of how to present a space in its best light. This guide covers everything from pre-shoot preparation to post-production, ensuring you capture stunning images that help sell properties.
I. Getting Ready for Your Property Photography Shoot: Essential Preparations
Preparation is key to a smooth and successful photoshoot. Communication with the estate agent, manager and landlord is paramount.
- Understanding the Property Photoshoot Requirements:
- What type of property is it (house, flat, bungalow, commercial)?
- How many rooms need to be photographed?
- Are there any specific features the estate agent wants to highlight (e.g., large garden, period features, new kitchen)?
- Is the property occupied, vacant, or partially furnished? This affects decluttering and styling.
- What are the access arrangements (key collection, homeowner presence, alarm codes)?
- What’s the best time of day to shoot for optimal natural light in key rooms and the garden? Aim for good, even light, avoiding harsh shadows or direct sunlight blowing out windows.
- Are there any particular angles or shots the agent specifically needs?
- Where can I park my vehicle and unload equipment?
- Essential Photography Equipment for Property Shoots:
- Camera Bodies: Ensure all camera batteries are fully charged (at least 3-4, and bring a charger).
- Lenses for Property Photography: A wide-angle zoom (e.g., 16-35mm or 10-22mm for crop sensors) is crucial. A standard zoom (e.g., 24-70mm) and a telephoto (e.g., 70-200mm) for garden/exterior details can also be useful. Always clean all lens elements thoroughly.
- Tripod for Property Photos: A sturdy and reliable tripod is essential for sharp images and consistent bracketing.
- Flashguns & Triggers: If using artificial lighting, check all flash batteries.
- Photography Reflector: Useful for bouncing light or providing fill light in certain situations.
- Spirit Level for Camera: A hot shoe or tripod-mounted spirit level is vital for perfectly straight horizons, walls, and door frames.
- Memory Cards for Real Estate Photography: Bring multiple, formatted, and empty memory cards.
- Laptop/Tablet for Photo Review: For tethering or quick image review during the shoot if needed.
- Cleaning Supplies: Microfibre cloths and lens cleaner.
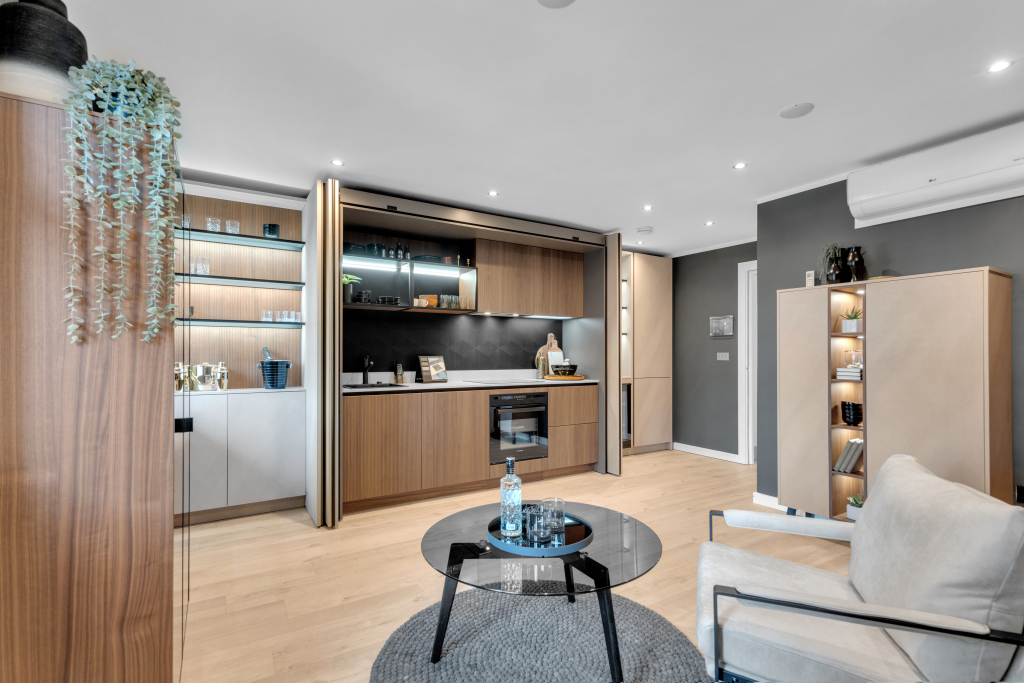
II. How to Prepare a House for Professional Photos: Staging & Decluttering
This is where the magic of “staging” happens, even if it’s just minor adjustments. As the photographer, your role is primarily to advise and capture the best possible images of the property as presented. Physical movement or lifting of items should be undertaken by the homeowner or estate agent. You should only offer feedback or suggestions for adjustments if specifically asked or if it’s crucial for the photographic outcome. Communicate politely with the homeowner if they are present.
- Maximising Kerb Appeal: Exterior Property Preparation Tips:
- Client Responsibility: Remove rubbish bins, garden tools, children’s toys, bicycles. Ask the owner to temporarily move cars if possible.
- Client Responsibility: Mow the lawn (if applicable), sweep pathways, prune overgrown bushes, deadhead flowers. Ensure any garden furniture is neatly arranged.
- Client Responsibility: Visible dirt on windows can be distracting in photos; clean them if possible.
- Client Responsibility: Ensure curtains and blinds are neatly hung and open to maximise natural light.
- Client Responsibility: Straighten or remove old/worn door mats.
- Client Responsibility: Ensure the house number/name plate is clean and clearly visible.
- Client Responsibility: Clear the letterbox of any junk mail.
- Interior Styling & Decluttering Tips for Property Photos (Room by Room):
- Remove Unwanted Objects from Photography Frame: This is paramount. The homeowner or estate agent should remove anything that doesn’t belong or detracts from the space. This includes:
- Excessive personal photographs and knick-knacks.
- Magazines, newspapers, remote controls, chargers.
- Coats and bags flung over chairs.
- Pet items (dog bowls, leads, pet beds).
- Laundry baskets, airers, drying clothes.
- Excessive toiletries, toothbrushes, and towels in bathrooms.
- Dishes, visible food items, and cleaning products in kitchens.
- Children’s toys (minimise generally, unless strategically placed to show a family home).
- Piles of shoes by the door.
- As the photographer, you can politely point out items that would benefit from removal if the client asks for your input or if they are significantly impacting the shot. However, avoid physically moving items yourself unless given explicit permission and if it’s a very minor adjustment.
- Always Shut Toilet Lids for Photos: No exceptions.
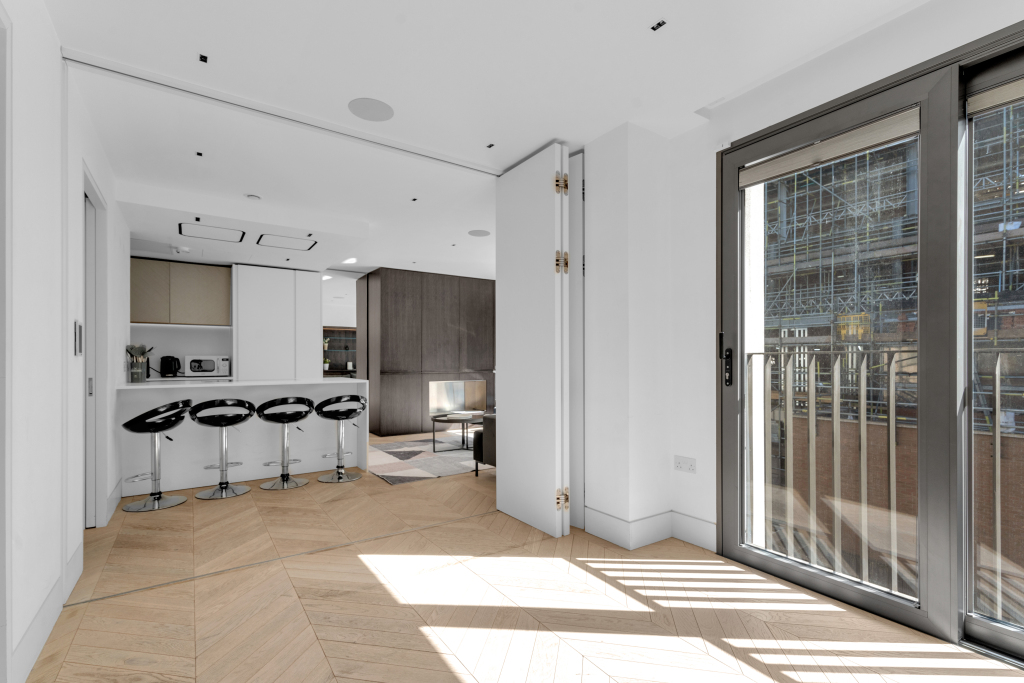
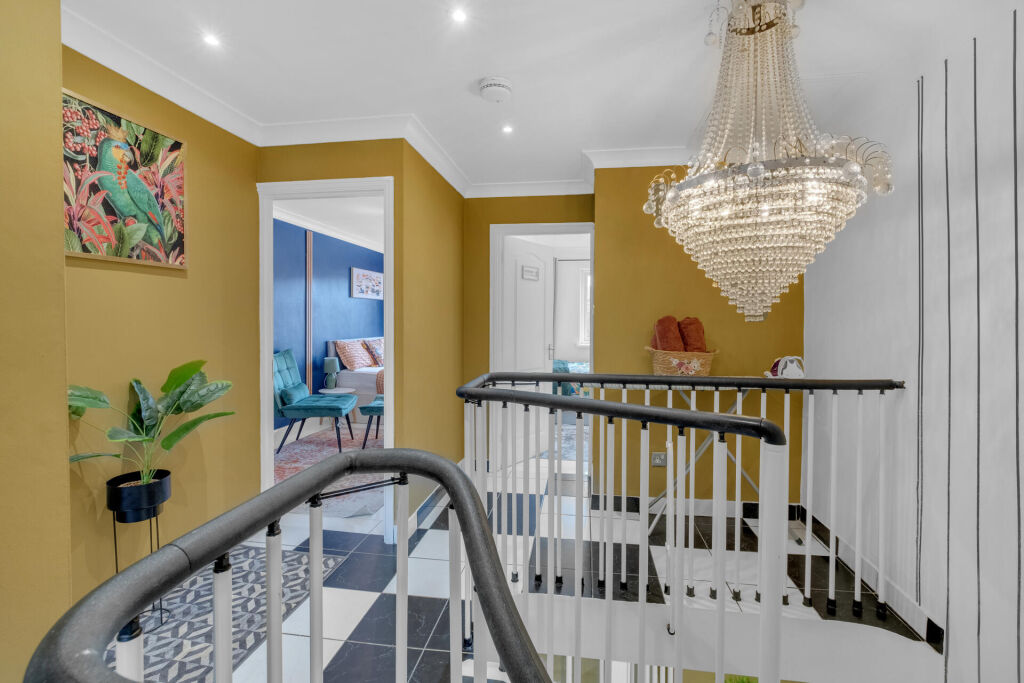
- Open All Interior Doors for a Sense of Space: The homeowner or estate agent should open doors fully to create flow, allow viewers to see through rooms, and help understand the layout. Ensure doors are fully open against walls where possible to avoid them cutting into the frame.
- Turn on All Room Lights for Property Photography (Photographer can assist): Even in daylight, ambient lighting adds warmth and highlights features. Use all available light sources – ceiling lights, wall lights, lamps. Ensure all bulbs are working and are of the same colour temperature if possible (e.g., all warm white, not a mix of cool white and warm white). As the photographer, you should actively switch on lights as part of your setup, but ensure the homeowner is aware.
- Remove Unwanted Objects from Photography Frame: This is paramount. The homeowner or estate agent should remove anything that doesn’t belong or detracts from the space. This includes:
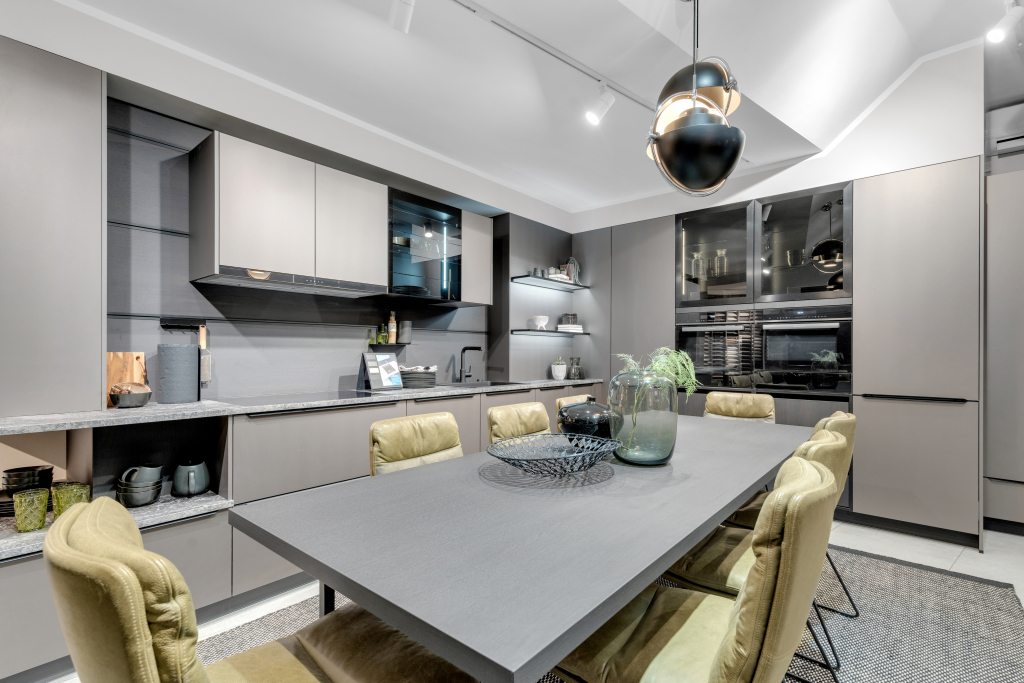
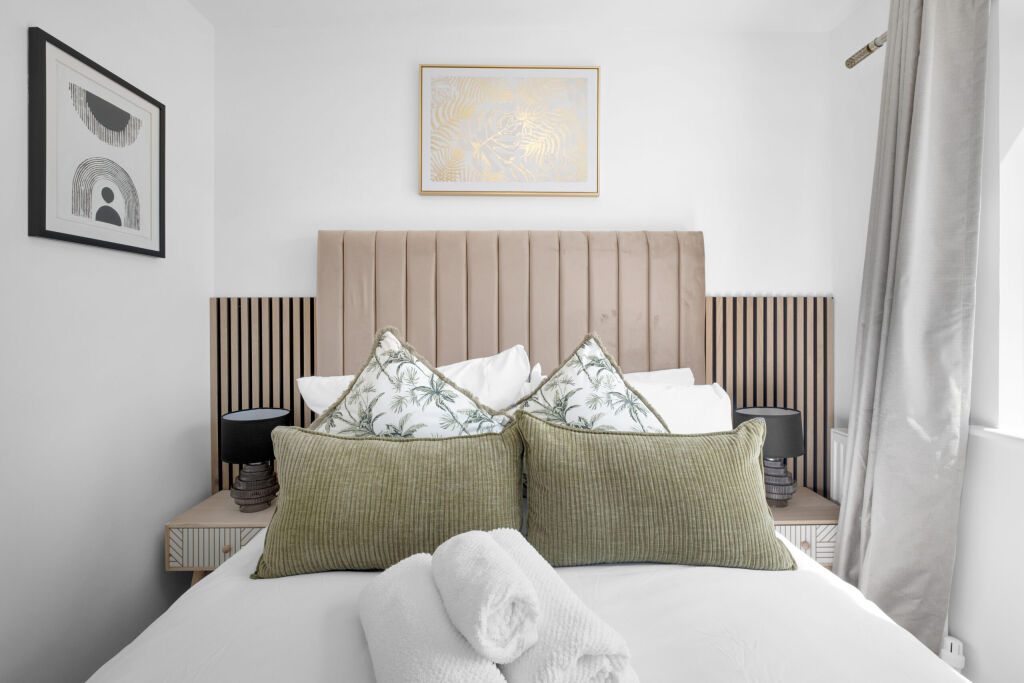
- Straighten & Arrange Furniture and Decor (Client’s Role, Photographer can advise):
- Cushions: Should be plumped and neatly arranged on sofas and beds.
- Beds: Should be made neatly, duvet pulled up, pillows arranged.
- Towels: Should be fresh, clean, and neatly folded or hung in bathrooms. Matching towels look best.
- Kitchen Surfaces: Should be kept clear of clutter. A single, stylish appliance (kettle, toaster) or a fruit bowl can work, but keep it minimal.
- Dining Tables: If set, keep it simple and elegant (e.g., placemats and a centrepiece, or completely clear).
- Curtains/Blinds: Should be pulled back fully to maximise window light. Open blinds evenly.
- Mirrors: Should be cleaned thoroughly! Fingerprints are highly visible.
- Again, the photographer’s role here is to advise on optimal presentation for the camera if asked, rather than physically making these adjustments.
- Manage Cables & Wires (Client’s Role): The homeowner should tidy or conceal any visible cables from TVs, lamps, computers.
- Hide Rubbish Bins (Client’s Role): Ensure they are out of sight in all rooms, especially kitchens and bathrooms.
- Pet Item Removal (Client’s Role): If pets are present, all pet-related items (bowls, beds, toys) should be removed before shooting.
- Adjust Thermostat for Comfort (Client’s Role): If the property is occupied, the homeowner should adjust thermostats to a comfortable temperature, especially if they are present.
III. Professional Photography Techniques for Property Interiors & Exteriors
This is where your technical skills and artistic eye come into play.
- Best Angles & Composition for Property Photography:
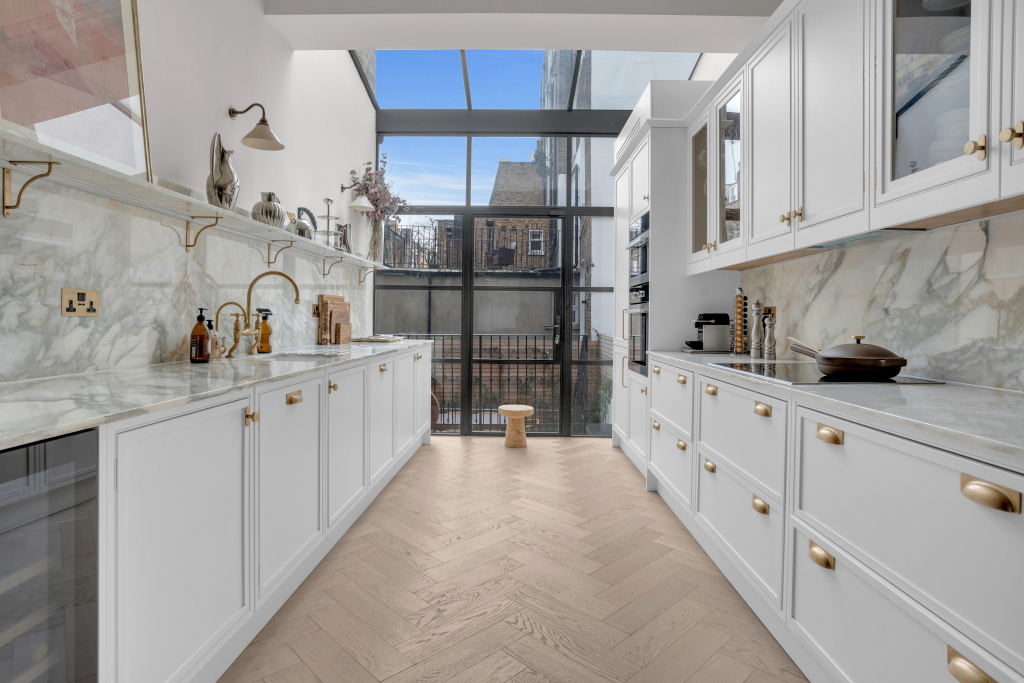
- Use a Wide-Angle Lens Effectively: Capture the breadth of rooms, but be mindful of lens distortion.
- Consistent Shooting Height: Generally, shoot from a consistent height, around shoulder level, to give a natural perspective. This avoids looking up at ceilings or down at floors excessively.
- Apply the Rule of Thirds: Position key elements along the lines or at the intersections of a mental grid for balanced compositions.
- Utilise Leading Lines: Use architectural features (hallways, floorboards) to draw the viewer’s eye into the image.
- Embrace Symmetry in Property Shots: Look for symmetrical compositions, especially in hallways or with fireplaces.
- Include Windows in Room Photos: Always try to include a window in at least one shot per room to show natural light and give a sense of connection to the outside.
- Capture Detail Shots: Don’t forget close-ups of attractive features – a decorative fireplace, a period ceiling rose, bespoke shelving.
- Maintain Consistency in Your Shots: Maintain a consistent shooting height and style throughout the property for a cohesive set of images.

- Lighting Strategies for Professional Property Photos:
- Prioritise Natural Light: Always maximise natural light. Open curtains/blinds fully.
- Use All Ambient Room Lights: Turn on all lights in the room you are shooting, and often in adjacent rooms visible through open doors.
- Effective Flash Use for Interiors: If needed, use off-camera flash for more control, bouncing it off ceilings or walls for a softer, more natural look. Avoid direct flash that creates harsh shadows.
- Bracketing & HDR for Tricky Lighting: For challenging lighting situations (e.g., bright windows and dark interiors), bracket your exposures (take multiple shots at different exposures) to create High Dynamic Range (HDR) images in post-production, ensuring detail in both highlights and shadows.

- Practical Shooting Advice for Property Photographers:
- Always Use a Tripod: Essential for sharp images, consistent framing, and bracketing.
- Verify Straight Lines with a Spirit Level: Use it constantly to ensure perfectly straight vertical lines (walls, door frames). This is one of the most critical elements for professional-looking property photos.
- Review Your LCD/Viewfinder Regularly: Constantly check for unwanted reflections (especially in mirrors or shiny surfaces), stray objects, or awkward angles.
- Shoot More Photos Than You Need: It’s better to have too many options than too few. Capture different angles and slight variations.
- Beware of Bathroom Reflections: Be extremely careful of your own reflection in mirrors, shower screens, and even highly polished taps. Adjust your position or angle.
- Comprehensive Visual Scan: Don’t just focus on eye-level. Check ceilings for unsightly light fittings, or floors for scuff marks.
- Prioritise Safety on Site: Be aware of your surroundings, especially if the property is cluttered or has uneven surfaces.
IV. Post-Processing & Delivering Property Photos After Attending Appointment
This is where you refine your raw images into polished, professional photographs.
- Recommended Software for Property Photo Editing:
- Adobe Lightroom Classic: Industry standard for photo management and raw editing.
- Adobe Photoshop: For more complex retouching, sky replacements, or object removal (used sparingly).
- HDR Software: (e.g., Photomatix Pro, integrated into Lightroom/Photoshop) for merging bracketed exposures.
- Essential Photo Editing Steps for Real Estate Images:
- Correcting Exposure: Adjust overall brightness to ensure details are visible in highlights and shadows.
- Accurate White Balance: Crucial for true-to-life colour representation. Correct for yellow indoor lights or blue window light.
- Straightening & Cropping Property Photos: Use the straighten tool to ensure horizons and vertical lines are perfectly straight. Crop to improve composition and remove distractions.
- Lens Distortion Correction: Apply profile corrections to counteract lens distortion (barrel distortion from wide-angle lenses) and chromatic aberration.
- Enhancing Colour & Contrast: Subtle enhancements to make colours pop and add depth. Avoid over-saturation.
- Sharpening Images: Apply a small amount of sharpening to bring out detail.
- Reducing Image Noise: If shooting in low light, apply noise reduction.
- Window Pulls & Exposure Blending (HDR): If using HDR, blend exposures to show detail outside windows without blowing them out, while maintaining a well-exposed interior.
- Minor Retouching (Spot Healing/Cloning):
- Remove minor dust spots on walls or floors.
- Address unsightly light switches or plug sockets.
- Fix small imperfections (e.g., scuffs on paintwork). Be careful not to misrepresent the property.
- Crucially, do NOT remove permanent fixtures or elements that would mislead a potential buyer.This means you cannot remove a crack in the wall, an old boiler, or a large, ugly radiator unless specifically agreed upon for a conceptual shot.
- Formats for Delivering Property Photos:
- Common File Formats: JPEG is standard for web and print.
- Required Image Sizes: Provide different sizes as required by the estate agent (e.g., web-optimised for property portals like Rightmove and Zoopla, high-resolution for brochures).
- Consistent File Naming Convention: Use a clear and consistent naming system (e.g.,
123_housesandproperties_Lounge_01.jpg).
V. Running a Successful Property Photography Business in the UK
- Effective Communication with Estate Agents & Homeowners: Maintain clear and prompt communication throughout the process.
- Time Management for Property Shoots: Arrive on time, plan your shoots efficiently, and deliver images within agreed-upon timescales.
- Essential Business Insurance for Photographers: Public liability insurance is essential for any professional photographer.
- Professional Contracts & Terms and Conditions: Have clear terms of service regarding image usage rights, payment terms, and cancellation policies.
- Pricing Your Property Photography Services: Understand your worth and price your services competitively but fairly.
- Continuous Professional Development for Photographers: Stay updated with new techniques, software, and equipment.
- Maintain a Professional Appearance: Dress smartly and be polite and respectful to homeowners.
By following this comprehensive guide, property photographers can consistently deliver high-quality, impactful images that truly showcase properties and help them stand out in the competitive British housing market. Good luck!